Wooden shoe rack plans offer a practical solution for organizing footwear. PDF guides provide detailed instructions for DIY projects‚ ensuring customization and functionality for any space.
Overview of Wooden Shoe Rack Designs
Wooden shoe rack designs offer versatile solutions for organizing footwear‚ blending functionality with style. From modern minimalist shelves to traditional rustic units‚ these plans cater to various spaces and preferences. Designs range from compact‚ wall-mounted options to large‚ multi-level storage systems. Many feature adjustable shelves‚ drawers‚ or cubbies for added customization. Materials like solid wood‚ MDF‚ or plywood ensure durability and aesthetic appeal. Whether for entryways‚ closets‚ or mudrooms‚ these designs provide practical storage while enhancing home decor. PDF plans often include detailed diagrams‚ making them accessible for both beginners and experienced woodworkers.
Importance of Using PDF Plans for Woodworking Projects
PDF plans are essential for woodworking projects‚ offering clear‚ detailed instructions and diagrams. They provide precise measurements‚ material lists‚ and step-by-step guides‚ ensuring accuracy and efficiency. These plans are ideal for beginners‚ as they break down complex tasks into manageable steps. Many PDFs include cut lists‚ 3D visuals‚ and assembly diagrams‚ reducing errors and saving time. They also allow for easy customization‚ making it simpler to adapt designs to personal preferences or space requirements. Accessible and comprehensive‚ PDF plans make woodworking projects more approachable and enjoyable for all skill levels.
Benefits of Building a Wooden Shoe Rack
Building a wooden shoe rack offers space-saving solutions‚ customization options‚ and eco-friendly material choices. It enhances home organization and adds value to your space.
Space-Saving Solutions for Shoe Storage
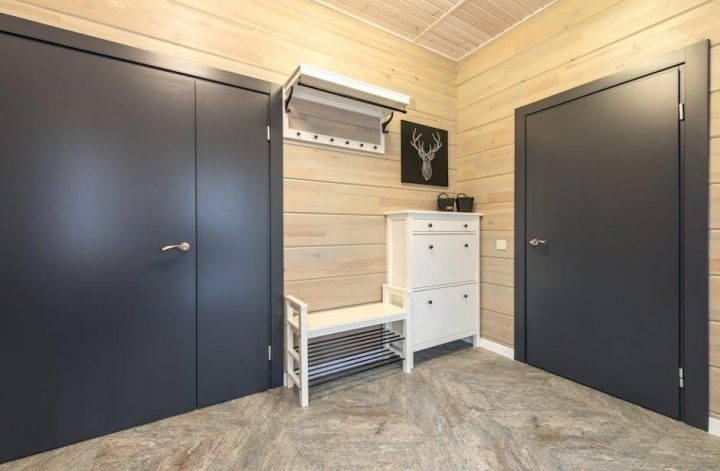
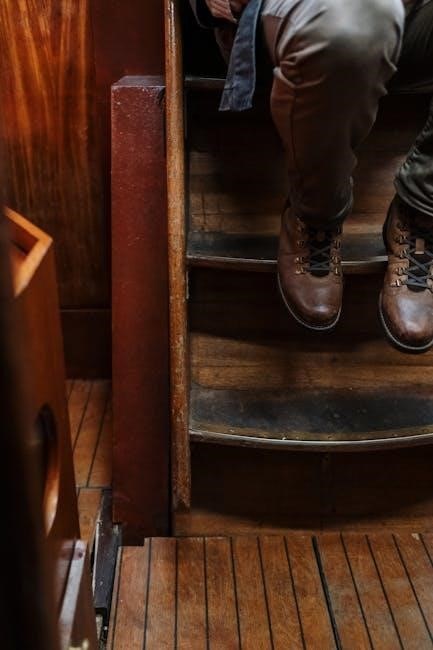
Wooden shoe racks offer efficient storage solutions‚ maximizing vertical space with multi-level designs. Tall‚ narrow shelves are ideal for entryways or mudrooms‚ holding multiple shoe pairs; Customizable heights and depths ensure a perfect fit for any room. These space-saving designs keep footwear organized while minimizing floor space usage‚ making them practical for small homes or apartments. The compact structures are both functional and stylish‚ providing easy access to shoes while maintaining a clutter-free environment.
Customization Options for Personalized Storage
Wooden shoe rack plans allow for extensive customization‚ catering to individual preferences and needs. Users can adjust dimensions‚ such as height‚ width‚ and depth‚ to fit specific spaces. Additional features like drawers‚ shelves‚ or compartments provide personalized storage solutions. The ability to choose wood types‚ finishes‚ and decorative elements ensures the final product matches home decor. These customization options make each shoe rack unique‚ offering functional and aesthetic versatility for any room or style.
Eco-Friendly and Durable Material Choices
Wooden shoe rack plans emphasize the use of eco-friendly and durable materials‚ ensuring long-lasting storage solutions. Sustainable wood options‚ such as reclaimed or FSC-certified timber‚ minimize environmental impact. Durable finishes like water-resistant sealants protect the wood from wear and tear. Solid wood constructions offer strength and stability‚ while metal reinforcements enhance structural integrity. These choices not only support environmental sustainability but also ensure the shoe rack remains functional and visually appealing for years‚ aligning with modern eco-conscious woodworking practices.
Popular Wooden Shoe Rack Design Ideas
Modern and minimalist designs dominate wooden shoe racks‚ offering sleek storage solutions. Rustic and traditional styles provide classic charm‚ while multi-level units maximize vertical space efficiently.
Modern and Minimalist Designs
Modern and minimalist wooden shoe racks emphasize clean lines‚ simplicity‚ and functionality. These designs often feature sleek‚ low-profile structures that maximize vertical space while maintaining a contemporary aesthetic. Built with engineered wood or incorporating metal accents‚ they offer durability and style. Many plans include hidden compartments or adjustable shelves for versatility. PDF guides provide detailed instructions for crafting these designs‚ ensuring precise measurements and a polished finish. Perfect for small spaces‚ these racks blend seamlessly into modern interiors‚ offering practical storage without compromising on design.
Traditional and Rustic Shoe Rack Plans
Traditional and rustic shoe rack plans offer timeless designs that blend seamlessly with classic home interiors. These plans often feature natural wood finishes‚ distressed textures‚ and ornate details‚ creating a warm‚ inviting appearance. Rustic designs emphasize durability and simplicity‚ using solid wood construction. PDF guides provide detailed instructions for crafting these elegant shoe racks. Perfect for those who appreciate a cozy‚ countryside aesthetic‚ these plans allow you to build functional and beautiful storage solutions that enhance your home’s charm and character.
Multi-Level and Vertical Shoe Storage Solutions
Multi-level and vertical shoe storage solutions maximize space efficiently‚ ideal for small entryways or closets. These designs feature stacked shelves or compartments‚ keeping shoes organized and accessible. Vertical units are perfect for tall spaces‚ while multi-level racks offer versatile storage options; PDF plans often include customizable layouts‚ allowing you to adjust the number of shelves or height to suit your needs. Durable materials like solid wood ensure long-lasting construction. These designs are practical for households with multiple footwear collections‚ providing a neat and orderly storage system.
Materials and Tools Required
Essential materials include lumber‚ screws‚ and wood glue. Tools like drills‚ saws‚ and sanders are necessary for precise assembly and a polished finish.
Essential Lumber and Woodworking Supplies
Building a wooden shoe rack requires high-quality lumber‚ such as plywood or solid wood planks‚ depending on the design. Essential supplies include wood screws‚ wood glue‚ and wood filler for a seamless finish. Additionally‚ materials like shelf pins and trim screws are useful for securing shelves and adding decorative elements. Optional items include brad nails for reinforcing joints. These materials are readily available at hardware stores and are suitable for both beginners and experienced woodworkers. Proper selection ensures durability and a professional-looking final product.
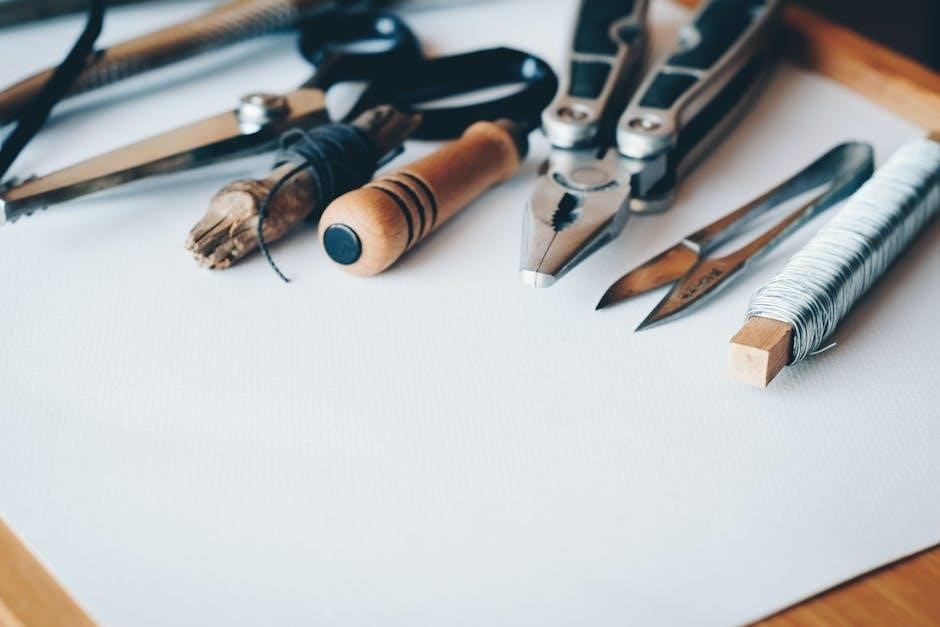
Power Tools for Precise Cutting and Assembly
Power tools are essential for precise cutting and assembling a wooden shoe rack. A circular saw or handheld saw is ideal for cutting lumber to size. A drill is necessary for pre-drilling holes to avoid splitting the wood. Sanding tools‚ like a belt sander or orbital sander‚ ensure smooth surfaces. For intricate cuts or joints‚ a jigsaw or router may be used. These tools help achieve professional results and are commonly included in PDF woodworking plans. Proper use ensures accurate cuts and a sturdy final product‚ making the assembly process efficient and stress-free.
Hardware and Fasteners for Secure Construction
Hardware and fasteners are critical for ensuring the stability and durability of your wooden shoe rack. Wood screws are essential for assembling frames‚ shelves‚ and supports. Brad nails or finish nails are ideal for securing panels and preventing splits. Wood glue strengthens joints‚ while shelf pins allow for adjustable shelving. Decorative or functional hardware‚ like knobs or handles‚ can enhance usability. Properly selecting and using these components ensures a sturdy and long-lasting structure‚ as detailed in most PDF woodworking plans.

Safety Tips for Woodworking Projects
Always wear protective gear‚ including safety glasses and gloves‚ when working with power tools. Ensure proper ventilation and keep loose clothing tied back. Maintain a clean workspace to prevent accidents and injuries.
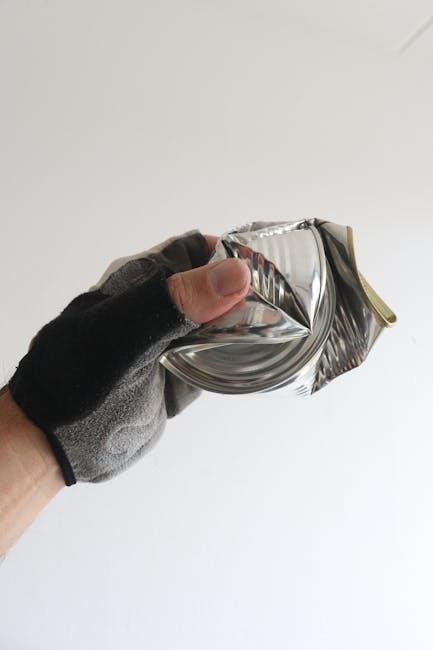
Protective Gear for Safe Woodworking
Wearing proper protective gear is crucial for safe woodworking. Safety glasses with lenses made of shatter-resistant materials‚ such as polycarbonate‚ protect eyes from flying debris. A dust mask or respirator prevents inhalation of wood particles and sawdust. Hearing protection‚ like earplugs or earmuffs‚ is essential when using loud power tools. Durable gloves provide grip and protect hands from cuts and splinters. Steel-toe boots or sturdy footwear can prevent injuries from heavy objects. Always ensure gear fits properly and is worn consistently during woodworking activities to minimize risks and ensure a safe working environment.
Proper Use of Power Tools and Equipment
Using power tools and equipment correctly is vital for safe and successful woodworking. Always read and follow the manufacturer’s instructions for each tool. Ensure the work area is clean and well-lit to avoid accidents. Use the correct tool for the task‚ such as a circular saw for straight cuts or a drill for precise holes. Keep loose clothing tied back and long hair secured. Regularly inspect tools for damage or wear and maintain them to ensure optimal performance. Proper tool usage enhances efficiency and reduces the risk of injury while working on wooden shoe rack plans.
Step-by-Step Assembly Instructions
Start by preparing all components according to the PDF plan. Assemble the frame using wood screws‚ then attach shelves securely. Use nails and glue for added stability.
Preparing the Wood and Cutting Components
Begin by gathering all necessary lumber and ensuring it is free from defects. Measure and mark each piece according to the PDF plan specifications. Use a saw to cut wood accurately‚ following the detailed diagrams provided. Sand all edges to smooth them out‚ ensuring a professional finish. Properly labeled and organized components will streamline the assembly process‚ making it easier to follow the step-by-step instructions. This preparation is crucial for a successful project outcome.
Assembling the Frame and Shelves
Start by constructing the frame using pre-cut wood pieces. Align the sides and base‚ securing them with screws or nails. Attach the shelves to the frame‚ ensuring they are level and evenly spaced. Use clamps to hold components in place while fastening. Follow the PDF plan’s instructions for precise measurements. Once assembled‚ double-check the structure’s stability before moving on to the next step. A sturdy frame and shelves form the foundation of a functional shoe rack.
Securing the Structure with Nails and Glue
Use wood screws or nails to reinforce the frame‚ ensuring all joints are tight and secure. Apply wood glue to enhance the bond between pieces. For shelves‚ attach them to the frame using wood screws or brad nails‚ ensuring proper alignment. Use clamps to hold components in place while securing. Allow the glue to dry completely before handling. Reinforce any weak points with additional nails or screws. A sturdy bond ensures the shoe rack’s stability and durability‚ ready to hold multiple pairs of shoes securely.
Customization and Personalization
Customization and personalization allow you to create a shoe rack that fits your style. Add decorative trim‚ paint‚ or stain to match your home decor.
Adding Decorative Trim and Moulding
Enhance your shoe rack’s appearance by adding decorative trim and moulding. Choose from various styles‚ such as ornate or minimalist designs. Use wood trim to cover edges or create intricate patterns. Moulding can add depth and sophistication. Stain or paint the trim to match your shoe rack’s finish. This step allows for personalization‚ ensuring the final product complements your home decor. Proper measurement and precise cutting are key for a seamless look. Apply wood glue and secure with nails for durability. Sand and finish for a polished result‚ making your shoe rack both functional and visually appealing.
Painting or Staining for a Finished Look
Painting or staining your wooden shoe rack enhances its appearance and protects the wood. Choose a water-based or oil-based stain to match your desired color and finish. Apply evenly‚ allowing proper drying time between coats. For a painted look‚ select a durable paint suitable for furniture. Sand the surface beforehand for better adhesion. Consider adding a clear topcoat for extra protection. This step ensures your shoe rack looks polished and professional‚ blending seamlessly with your home decor while maintaining durability and style.

Finishing Touches

Apply wood sealants for protection and add optional hardware like handles; These final steps ensure durability and functionality‚ completing your wooden shoe rack project effectively.
Applying Wood Sealants for Protection
Applying wood sealants is crucial for protecting your shoe rack from moisture and wear. Use a water-resistant finish like polyurethane or wax to ensure longevity. Always follow the manufacturer’s instructions for application and drying times. Sand the wood lightly before sealing to ensure proper adhesion. This step not only enhances the appearance but also safeguards the material‚ making it more durable and resistant to everyday use. A well-sealed finish can significantly extend the life of your wooden shoe rack.
Installing Handles or Drawers for Added Functionality
Installing handles or drawers enhances the usability of your wooden shoe rack. Handles provide easy access to stored items‚ while drawers offer concealed storage for valuables. Choose from metal or wooden knobs to match your design. For drawers‚ ensure proper alignment with ball-bearing slides for smooth operation. Adding these features requires precise measurements and hardware like hinges or drawer slides. This customization not only improves functionality but also adds a polished look to your shoe rack‚ making it more practical and user-friendly for daily use.
Downloading and Using PDF Plans
Premium and free PDF plans for wooden shoe racks provide detailed diagrams‚ cut lists‚ and step-by-step instructions. They ensure accurate measurements and a smooth woodworking experience.
Where to Find Free and Paid PDF Plans
Discover a variety of free and paid PDF plans for wooden shoe racks online. Websites like Etsy‚ Instructables‚ and specialized woodworking forums offer detailed designs. Free plans are ideal for simple projects‚ while paid options provide intricate details and customization options. Platforms like Woodcraft and hardware stores often feature premium plans with 3D diagrams and step-by-step guides. Explore these resources to find the perfect design for your skill level and project needs.
Understanding Technical Drawings and Diagrams
Technical drawings and diagrams in PDF plans provide clear visuals and measurements for constructing a wooden shoe rack. These include detailed cut lists‚ assembly steps‚ and 3D views. Dimensions and labels help identify each component‚ ensuring accuracy. Symbols and legends explain materials and hardware needed. Diagrams outline the sequence of assembly‚ making it easier to follow instructions. Understanding these elements is crucial for a successful build‚ whether you’re a beginner or an experienced woodworker. They ensure your project turns out as envisioned‚ with precision and functionality.

DIY Shoe Rack Projects for Beginners
Beginner-friendly projects offer simple‚ customizable designs. Step-by-step guides ensure easy assembly. Perfect for new woodworkers‚ these plans provide a budget-friendly way to add storage and style to entryways or closets.
Simple and Quick DIY Shoe Rack Ideas
Discover easy-to-follow plans for a shoe rack that fits your space. A tall‚ narrow cubby shelf or a bench with storage are perfect for entryways. Minimal materials and basic tools make these projects quick to complete. Ideal for beginners‚ these designs require only a few hours of work. Customize the height or width to suit your needs. Digital downloads provide clear instructions and diagrams. Use shelf pins‚ wood glue‚ and simple hardware for a sturdy finish. These projects are great for organizing footwear while adding style to your home.
Step-by-Step Guides for First-Time Woodworkers
Beginners can easily create a functional shoe rack with detailed PDF plans. These guides include cut diagrams‚ parts lists‚ and 3D visuals for clarity. Start with basic tools like a saw and drill‚ and essential materials like wood screws and glue. Follow the instructions to build a tall‚ narrow cubby shelf or a bench with storage. Safety tips and woodworking basics are often included. These projects are designed to be completed in a day‚ making them perfect for first-time woodworkers looking to gain confidence and skill in their first project.
Wooden shoe rack plans offer an ideal way to enhance organization and customization. With PDF guides‚ anyone can create functional and stylish storage solutions for their footwear.
Final Thoughts on Building a Wooden Shoe Rack
Building a wooden shoe rack is a rewarding project that offers both functionality and customization. With PDF plans‚ you can easily follow step-by-step instructions to create a storage solution tailored to your space and style. Whether you’re a beginner or an experienced woodworker‚ these plans provide clear guidance‚ ensuring a professional finish. The process not only helps organize your footwear but also enhances your home’s decor. Embrace the creativity and satisfaction of woodworking by starting your project today!
Encouragement to Start Your Woodworking Journey
Starting your woodworking journey with a wooden shoe rack is an excellent way to explore your creativity and develop practical skills. These projects are perfect for beginners‚ offering a sense of accomplishment and pride in creating something functional. With PDF plans as your guide‚ you’ll gain confidence in working with tools and materials. Embrace the opportunity to craft something meaningful and durable. Every project‚ no matter how small‚ is a step toward mastering woodworking and unlocking endless possibilities for future creations.
Additional Resources
Explore recommended websites for PDF plans‚ woodworking guides‚ and tutorials. Discover books and online communities for advanced techniques and inspiration to enhance your shoe rack projects.
Utilize detailed guides and expert advice to refine your woodworking skills and create stunning‚ functional pieces tailored to your home’s unique style and needs.
Recommended Websites for Woodworking Plans
For reliable woodworking plans‚ visit websites like The Spruce Crafts‚ Fine Woodworking‚ and Woodcraft. These platforms offer detailed PDF guides‚ tutorials‚ and project ideas for shoe racks and more.
They feature step-by-step instructions‚ video tutorials‚ and user reviews. Whether you’re a beginner or an experienced woodworker‚ these resources provide inspiration and practical advice for creating functional and stylish pieces.
Books and Guides for Advanced Woodworkers
For advanced woodworkers seeking detailed insights‚ books like “The New Yankee Workshop” by Norm Abram and “The Soul of a Tree” by George Nakashima offer expert techniques. These guides provide intricate designs and complex projects‚ perfect for refining skills. They often include detailed diagrams and step-by-step instructions for creating custom pieces like wooden shoe racks. Such resources are ideal for those looking to challenge themselves and create high-quality‚ durable furniture.
These books cater to experienced craftsmen‚ offering advanced methods for precision and aesthetics. They are invaluable for mastering intricate woodworking projects and achieving professional results.